diy: painted christmas balls
My idea of the perfect craft project is one that takes less than ten minutes and doesn’t make much of a mess. These painted Christmas balls check all those boxes and then some! I’ve wanted to try these for years but never got around to it for one reason or another; this year, while searching my Christmas board on Pinterest for some craft ideas that Lydia and I could do together, this one popped up again and again so we tried it and LOVED it so much!
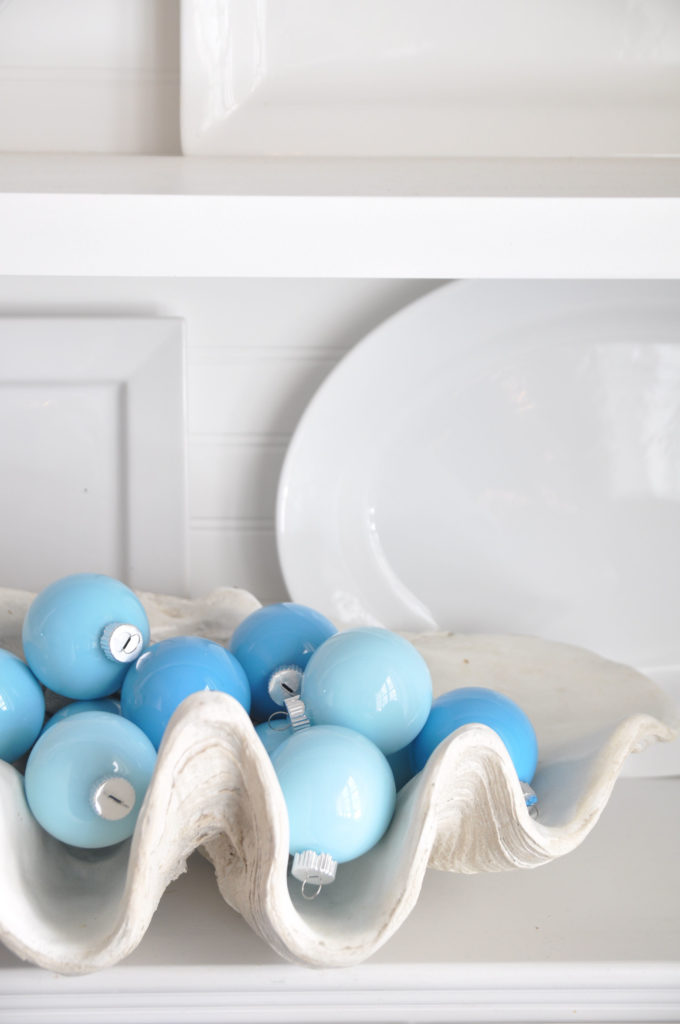
These really couldn’t have been any easier-the perfect craft project for even the most novice diy-er and is perfect for kindergarten ages, too! All you need is a dozen clear, round glass ornaments (I found mine at Hobby Lobby) and craft paint in any color you choose. We ended up going with three different shades of aqua, but I think these would be beautiful in just about any color!
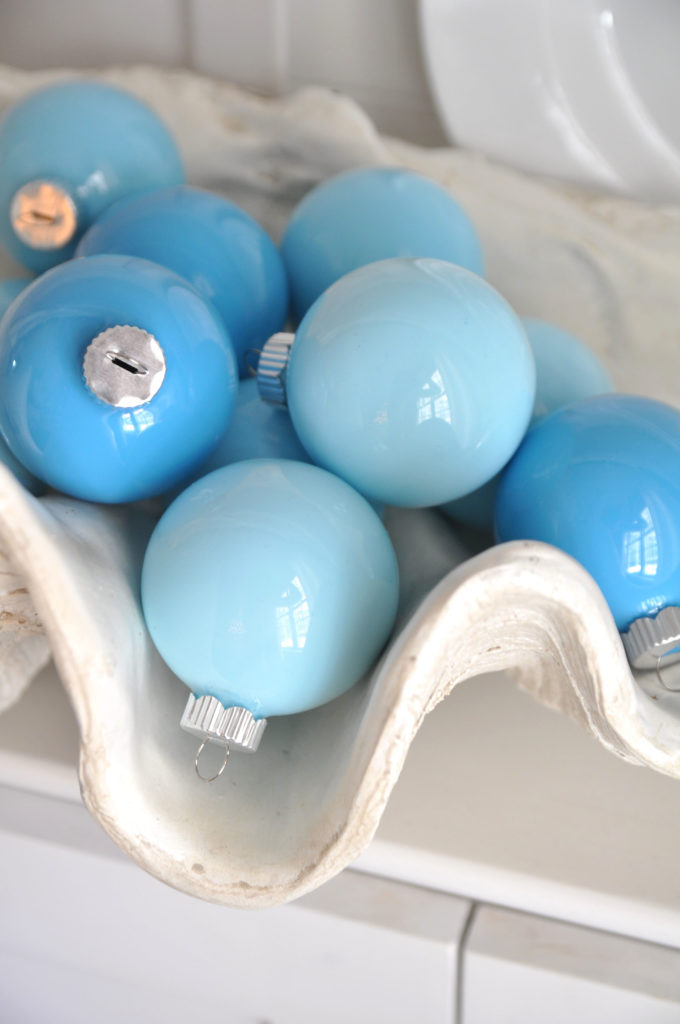
To make them, I removed the lids from the top of each ornament. Next, we simply squeezed craft paint inside each one and, with my finger firmly on the lid of the ornament so no paint would escape, swirled and shook the ornament until the paint covered all of the interior of the glass.
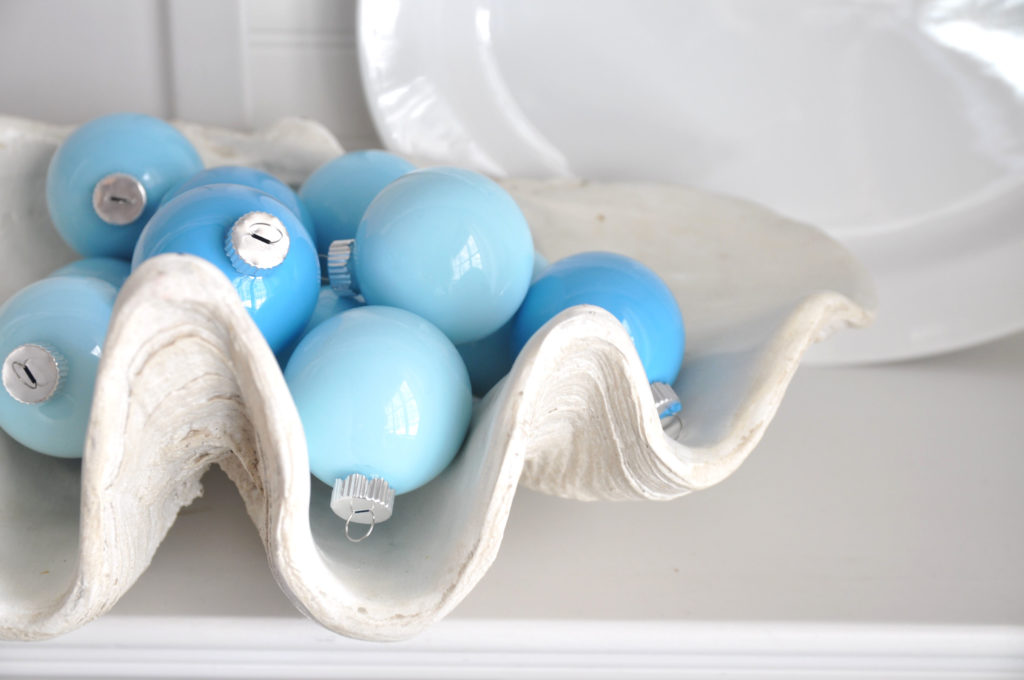
They turned out so beautifully that I ran back and grabbed another dozen and more craft paint! We have some on our tree, some in silver Revere bowls and a few in my favorite clam shell! I feel it’s important to note that, the most important step in this project is to BE SURE THE BALLS DRY COMPLETELY. I set mine back in the plastic holder that was inside the box for 24 hours, otherwise, if one breaks, you will have craft paint everywhere!
Happy crafting!

Hello and welcome to Bungalow Blue Interiors!
I'm Kelly, interior designer, stylist, hostess with the mostest and editor of my blog, where I share pics of my work, my own home, décor projects, entertaining hacks, where to find the best decorating deals and all the beautiful things that are currently inspiring me!
