DIY: grid gallery wall
Decorating a large expanse of wall or even one with a vaulted ceiling used to frustrate the heck out of me, but I quickly learned there is power in numbers. A gallery wall of your favorite photos or artwork hung in a grid pattern packs a huge visual punch and makes a beautiful display. Remember the conchology book I found at Barnes and Noble? I printed at ton of coupons from Michael’s to buy floating frames at 50% off and hung twelve of my favorite pages all the way to the ceiling in my entryway. The transformation is unbelievable!
I’m sure there are a million different tutorials out there that explain how to create a grid gallery wall, but these three steps worked for me. It’s easier than you think, but, it’s a tad time-consuming to measure and make sure each photo is in line, but the final outcome is totally worth it.
I started with a clean slate, taking everything out of the foyer except my skirted console table:

Next, I cut kraft paper to the size of each of my frames and using the table as my guide for where I wanted the pictures to be centered, I taped them to the wall in four rows of three. These are obviously not spaced exactly the same distance apart, but it helped to guide me when I started hanging the pictures:

Then, starting in the bottom left corner, I hung my first frame:

I wanted them to be 1.5 inches apart, so, using my yardstick, I put a pencil mark exactly 1.5 inches from the top right corner of the first frame. This is where the left corner of the next frame would be.

Next, I used my laser level to create a straight line from the nails holding my first frame, across the rest of the row. I then put another pencil mark where the middle of frame number two would be:

I hammered in nails and hung the next frame. These are basically the only three steps I followed to get all 12 of them up: (1) measure 1.5 inches from top right corner of frame; (2) use a laser level to create a straight line from nail marks in first frame to where nails will go in the next frame and (3) make pencil marks, then hang next frame!
And here they are:


Here is a close up of the prints; you’d never guess they were pages out of a book:

Hanging them all the way to the ceiling adds height and drama, perfect for making a great first impression when guests walk through the door. I’m still tweaking the rest…I definitely want to swap out the white lamp shades for black ones and add some greenery, but, for now I think it’s a good start.
Posted in art, before and after, DIY, MY HOME

Hello and welcome to Bungalow Blue Interiors!
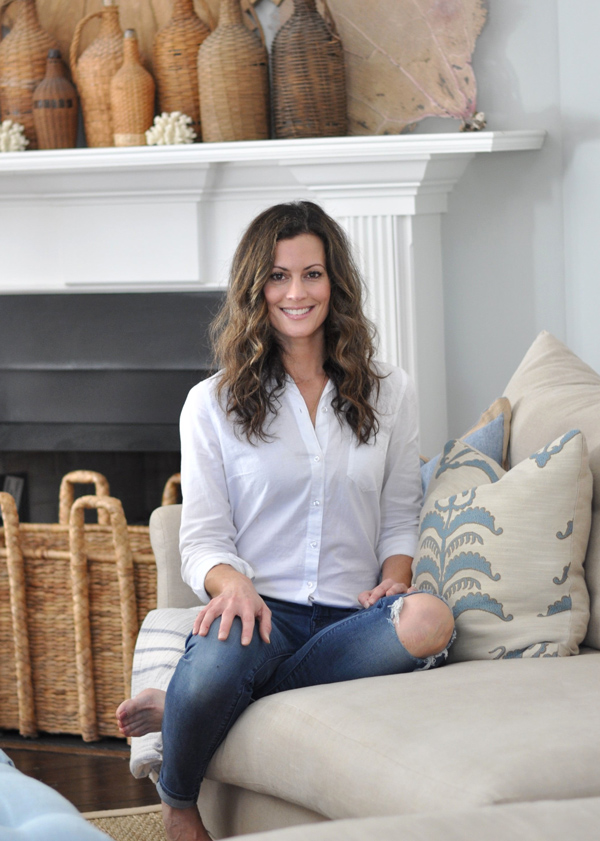
I'm Kelly, interior designer, stylist, hostess with the mostest and editor of my blog, where I share pics of my work, my own home, décor projects, entertaining hacks, where to find the best decorating deals and all the beautiful things that are currently inspiring me!

They look great and I have a similar version of that whole vignette in my entrance way! My husband hung mine for me and I was happy he volunteered for that task!
Very pretty! Well done!
Thank you, ladies!
I love it!! Heading to the bookstore tomorrow! I recently came across your site and I am in love. Our styles are bang on and I love your ideas and tips. Keep them coming. (Do you know the color of the paint on the walls??)