
5 EASY STEPS TO A BEAUTIFUL CHARCUTERIE BOARD
A beautifully arranged charcuterie board is my favorite way to unwind from a long week; there’s just something so therapeutic about creating something both beautiful and delicious (especially since I’m completely inept at food styling, otherwise!) I also love a beautiful cheese board to welcome friends for dinner and drinks and while I’ve yet to perfect the art of the charcuterie board, I love creating one any chance I get!
I was always so intimidated by the elaborate boards I’d seen on Pinterest and Instagram, but when I actually set out to make one myself the first time, I was surprised at just how easy it was! Here are a few tips that I’ve found to be helpful when creating one myself:
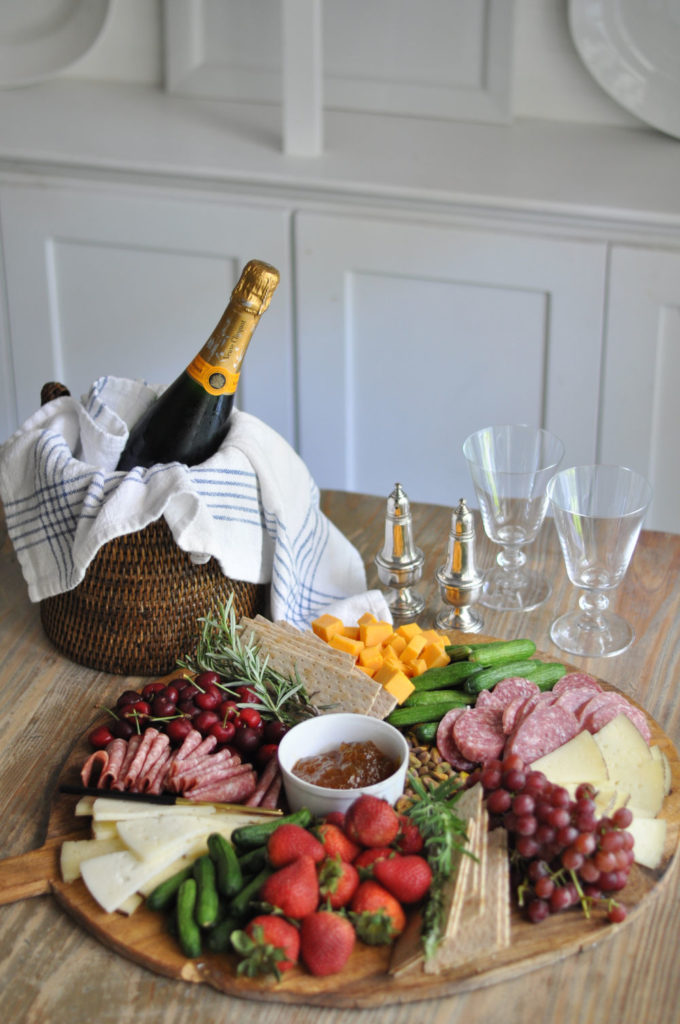
CHOOSE YOUR BOARD If I’m hosting friends or family, I like to use one of my large vintage bread boards, but if it’s just the hubby and me, this smaller marble slab or even a small platter will do the trick! If you’re using an older board that isn’t very easy to clean, you can use parchment paper or even fig or hydrangea leaves underneath the cheese and meats to keep from staining your board. Whatever you end up choosing, just be sure to give yourself enough room to display everything. I like to set out all the food I’m going to use so I can gage just how big of a board I need.
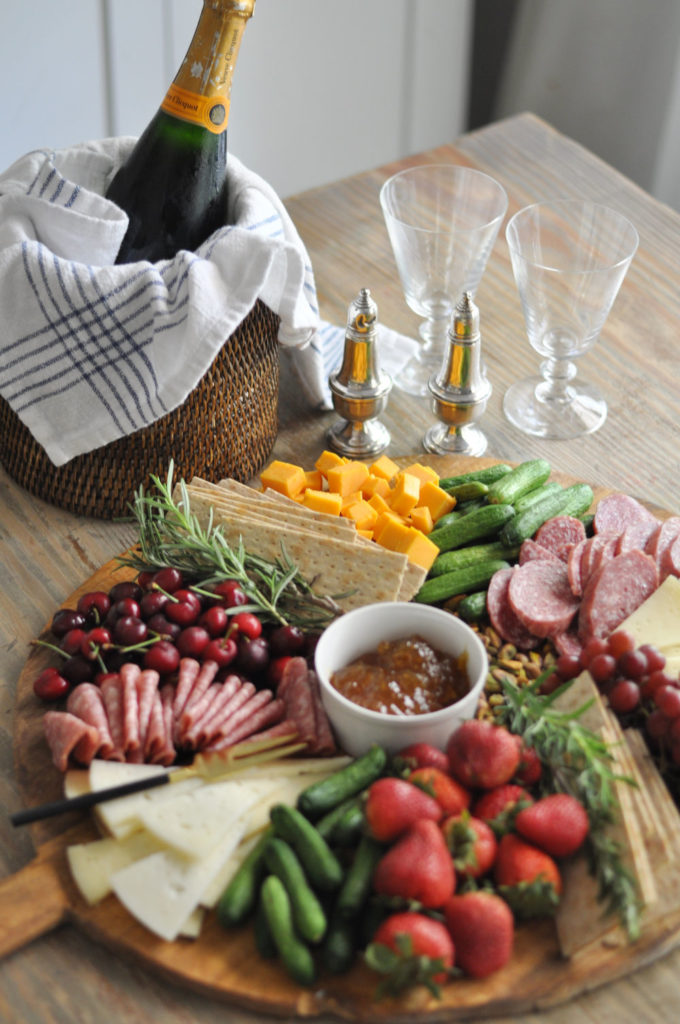
ADD SMALL BOWLS A simple set of ramekins are the perfect size for small bites like nuts, olives, jams, artichoke hearts and also keeps your board clean. I place a few on the board before anything else and usually keep cashews, pistachios, olives and jams in them.
USE WHAT YOU HAVE ON HAND Charcuterie boards can get expensive real quick, especially if you’re making one for a group, so I try to keep basics in the fridge and pantry on a regular basis – olives, nuts, genoa salami, cucumbers, fruit, crackers are all staples that I keep on hand for snacks anyway.
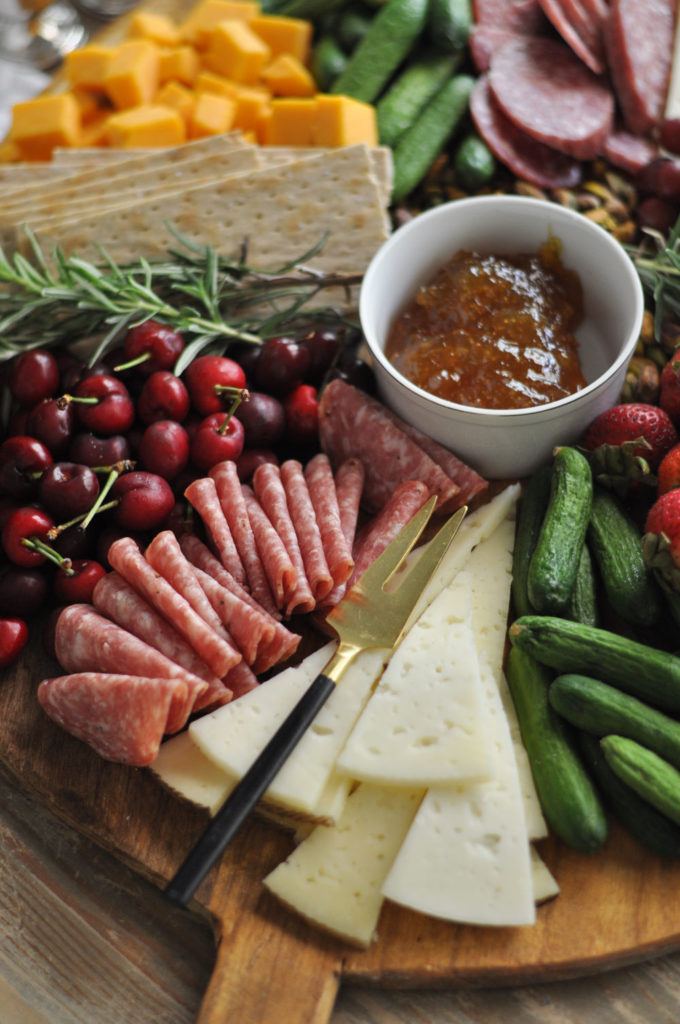
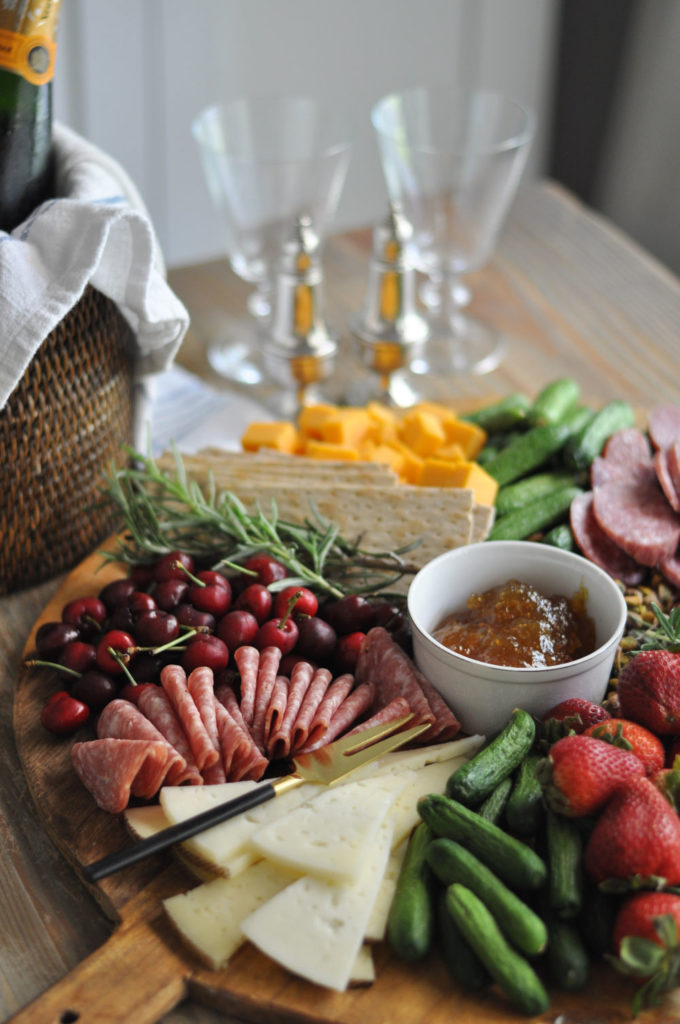
ADD CHEESE I typically like to include three different kinds of cheese – a soft cheese (like brie) to spread, a sharp cheddar that I’ll cut into cubes and then I cheat and use a trio of Spanish cheeses that is already sliced from Costco! I like to arrange the cheeses around the board opposite of each other and then add in fruits, veggies, meats for color and texture.
MIX IT UP After I’ve placed my cheeses, I just keep moving around the board, adding salami, mini cucumbers, strawberries, raspberries, cherries, grapes, nuts, crackers, slices of baguette, skinny breadsticks, oranges, olives, artichoke hearts, prosciutto, you name it, until there’s no more room on the board. I always like to top it off with a decorative item like a sprig of rosemary or sweet basil, depending on what’s on my board, but that’s definitely optional! The one rule to remember is that there really aren’t any rules – whatever tastes and looks good to you!
Similar board here, and here / Similar antique salt and pepper shakers here, here and here / Set of ramekins / Rattan ice bucket (similar, more budget-friendly option here) / Marble slab here and here / French wine glasses / Set of four blue and white kitchen towels
Hope you’re all off to a great start this week!
Posted in ENTERTAINING

Hello and welcome to Bungalow Blue Interiors!
I'm Kelly, interior designer, stylist, hostess with the mostest and editor of my blog, where I share pics of my work, my own home, décor projects, entertaining hacks, where to find the best decorating deals and all the beautiful things that are currently inspiring me!