FIVE TIPS FOR A PERFECT PAINT FINISH FOR FURNITURE
Back when I was working full-time in finance, I started learning how to refinish furniture as a creative outlet. It’s actually what ended up getting me into interiors, as many clients I refinished pieces for would ultimately ask me to help them with the space for which the piece was finished. These days, I much prefer styling to refinishing furniture, however, I am never one to pass up a deal on a beautiful piece and will gladly pull out the sprayer when it requires a fresh coat of paint.
It’s been three years since we painted the Thomasville dresser in our master and two and a half since redoing the Windsor chairs in our eating area; the dresser has held up beautifully and honestly, so have the kitchen chairs, considering how they get put through the ringer every single day by the kiddos. I recently gave the chairs a quick touch up and got so many questions about what I used and how I painted them, so I’m sharing them here today!
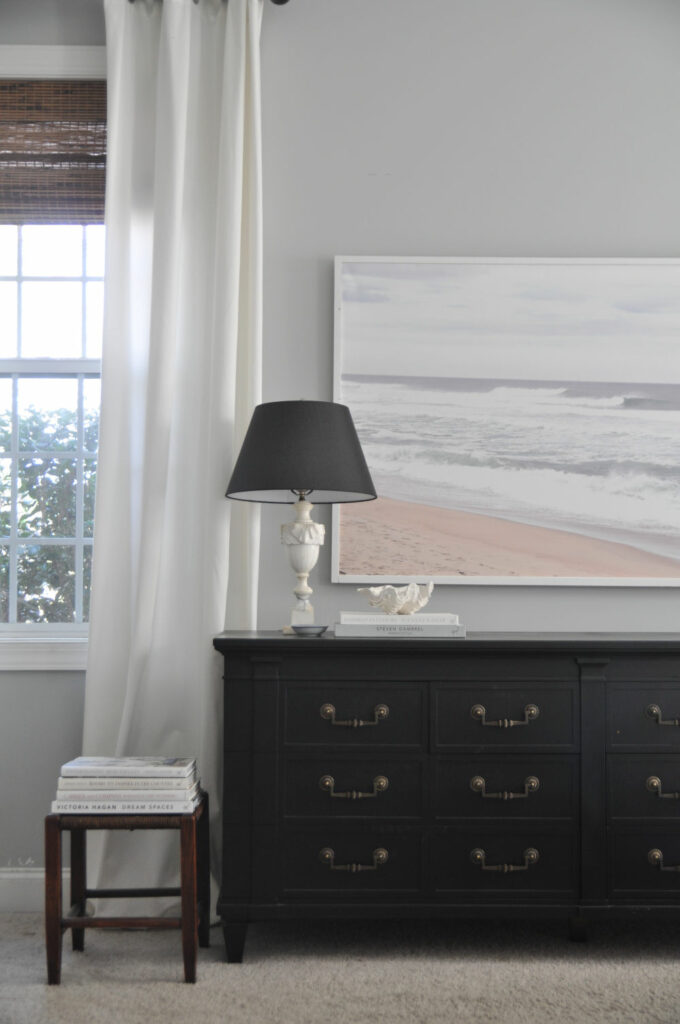
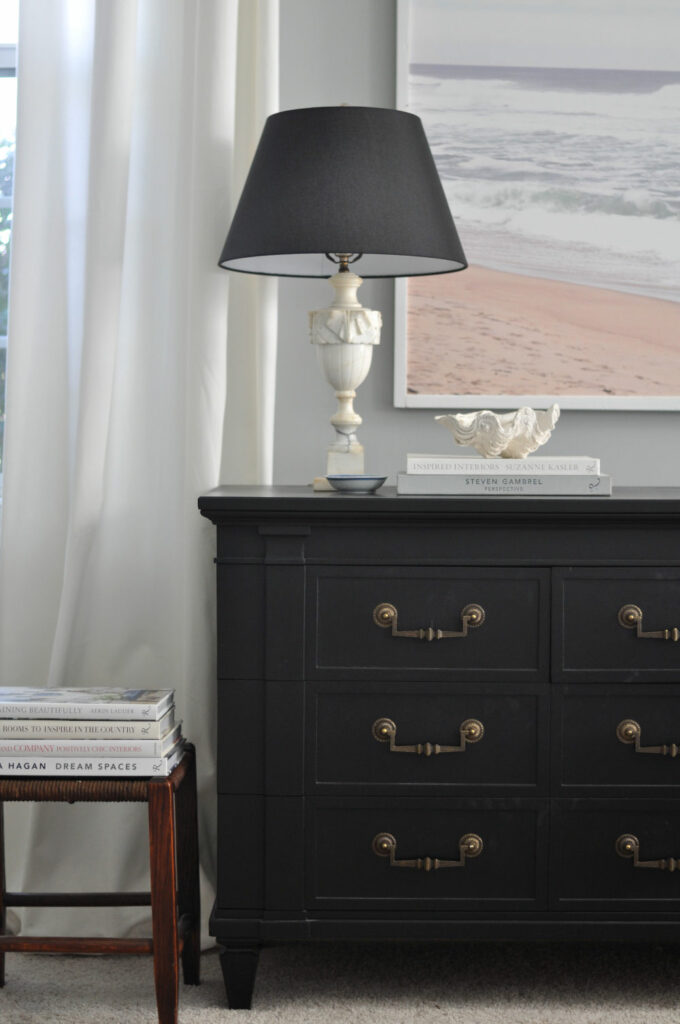
PREP is the most important part when it comes to refinishing furniture in general, but especially for getting a smooth painted finish. Clean the piece you’re painting before you do anything else; get rid of all dust and/or debris because the paint and primer will stick to it and you won’t get an even finish. Use a damp cloth to wipe it down and then go over it with a dry cloth.
SANDING I’m not a fan of stripping wood and, since I was painting both pieces and not staining them, I used sandpaper to remove the varnish and rough the surface up a little, just enough so that the primer would stick. First, I used 100-grit to remove the varnish and rough the surface up a little, just enough so that the primer would stick. Always sand in the direction of the wood grain and not against it! Using a dry tack cloth, wipe away the dust and then go back over the same spots with a much finer grit (I use 200 or 250), wipe away the dust and then use a super-fine grit like 220 to smooth the surface. Use a tack cloth once again to remove any dust.
PRIME. I always, ALWAYS use a primer first when painting furniture; it just gives a better finish than paint alone and you don’t need to use as many coats of paint. I use this Multi-Purpose Interior/Exterior Latex Primer. Since both of the pieces would be painted black, I had the primer tinted as dark gray as it would go. If you’re painting a darker or saturated color, it’s always good to have the primer tinted; plain old white primer shows through brighter and requires you to apply more coats of paint. I applied two super light coats of primer with a sprayer, letting them dry completely to the touch between each coat. Do not try to apply a thick layer of primer or you will get drips that you’ll have to sand off later once dry. Multiple thin coats will result in a much smoother finish. Also important to note that you should not apply another coat if the first one is tacky to the touch. Make sure that it’s completely dry.
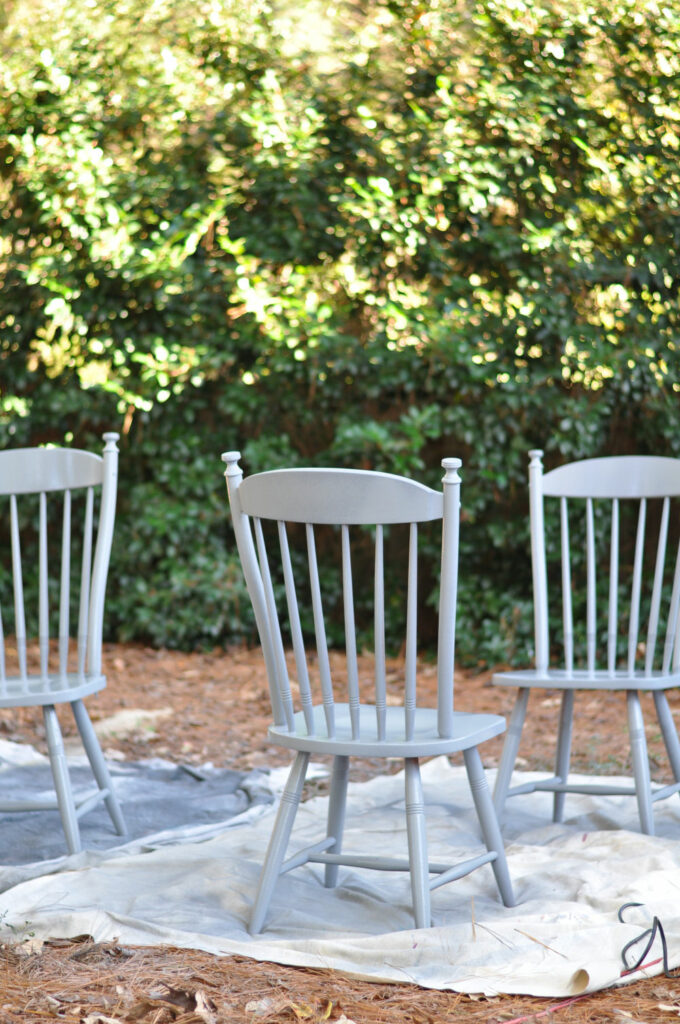
USE A SPRAYER This is a game changer when it comes to painting furniture! I use this one from Wagner and love how it makes such a beautiful, smooth finish and takes so much less time to paint than if I had done so by hand with a brush. Paint also dries much quicker with a sprayer so you can finish your piece faster, as well. Here are a few tips that are helpful when using one:
If you’re using latex paint, you MUST thin both the paint and the sprayer with water to make sure the paint applies as smoothly as possible. Otherwise, it will spit through the nozzle and drip onto your piece. Also, use the nozzle that comes with the sprayer for primer, but when applying paint, we bought this detail finish nozzle for the most even finish.
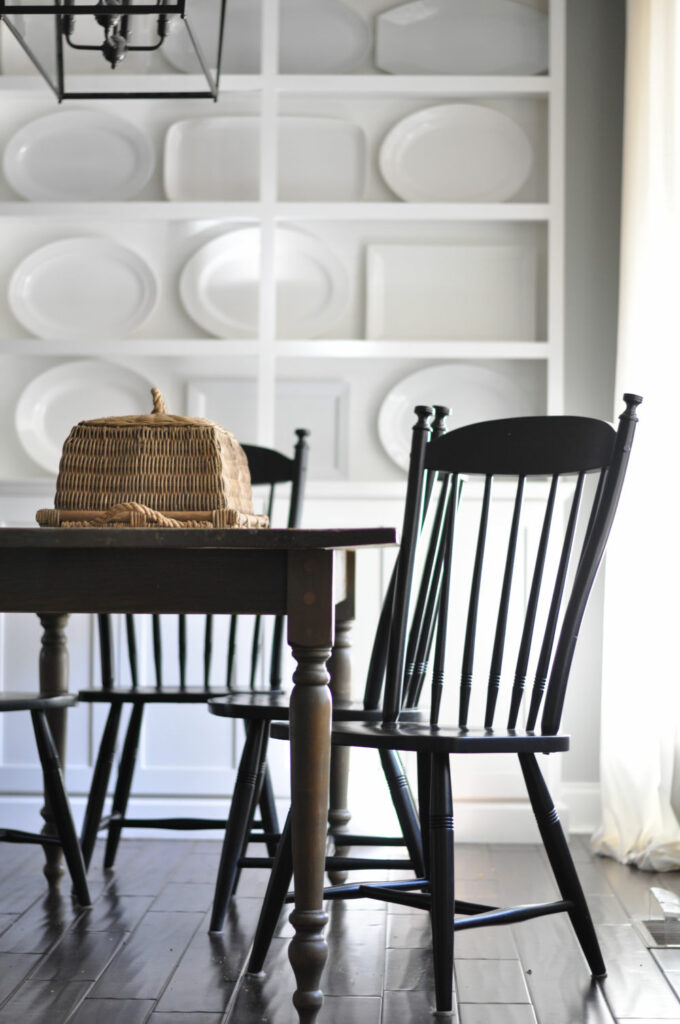
PAINT I used an interior latex paint in a semi gloss finish and again, applying in super thin coats. We thinned the paint just like we did the primer to ensure a super smooth finish. I like to use semi gloss because it’s so much easier to wipe down or clean (especially helpful in the case of our kitchen chairs) and, for some reason, when using a sprayer, semi gloss isn’t as shiny as when I apply with a brush. For both pieces, I used Tricorn Black by Sherwin Williams, my all-time favorite, saturated black.
After the first coat of paint was completely dry, I used a fine-grit sanding block to LIGHTLY sand the piece and remove any texture left by the paint; use a light hand so you don’t remove any paint from the edges or corners and then wipe it back with a tack cloth before applying your next coat. Because we prepped and primed both the dresser and the chairs so well, we only needed two coats of paint on each.
I did not apply any wax or polyurethane because it was an extra step and, in my experience since using the sprayer, the paint finish has held up so well without it! It’s been six years since we painted my daughter’s antique bed and there isn’t a single chip!
Posted in DIY

Hello and welcome to Bungalow Blue Interiors!
I'm Kelly, interior designer, stylist, hostess with the mostest and editor of my blog, where I share pics of my work, my own home, décor projects, entertaining hacks, where to find the best decorating deals and all the beautiful things that are currently inspiring me!
